Renovation before and after: how to document the work
Photos before, during and after, the hidden work behind walls and floors, invoices and one dated file: a practical routine for documenting a renovation. Informational content.
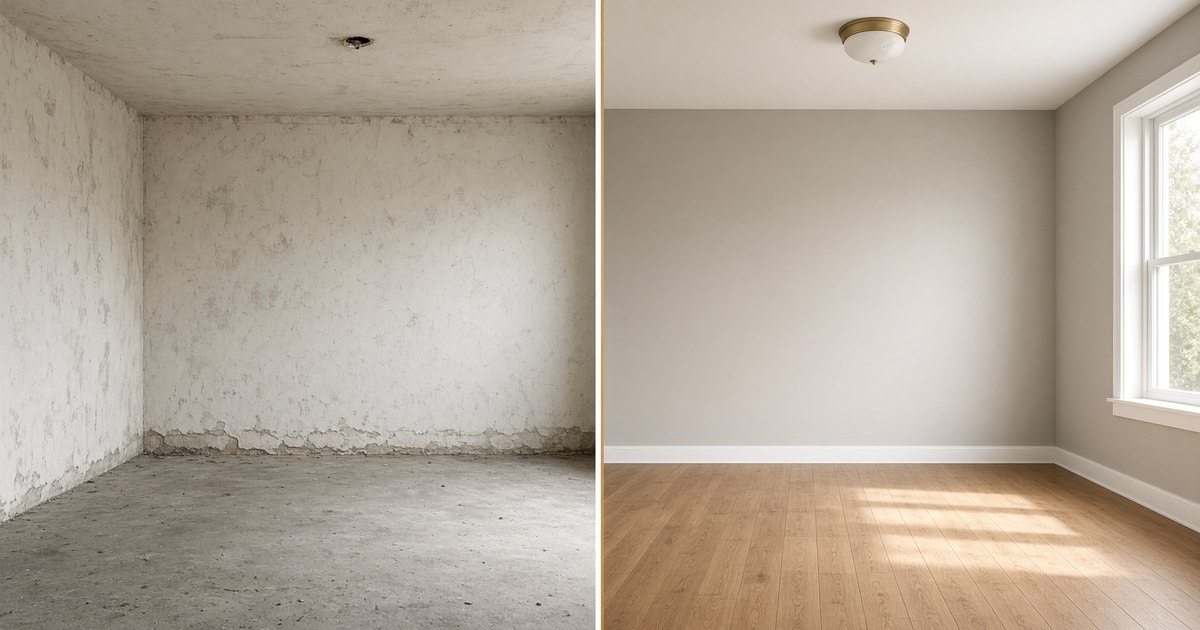
A renovation leaves two questions for later: what was done, and when. A contractor, a buyer, an insurer or a future owner may ask either. A simple routine answers both.
Before the work
- Photograph every room to be renovated, from the doorway and up close: walls, floors, wiring, pipes, any damage.
- Keep the quote or contract you agreed on, with its date.
During the work
- Photograph what will later be hidden: pipes and cables before the wall is closed, waterproofing before tiling, insulation before cladding. Years later these are often the most useful photos.
- Keep every invoice, product sheet and warranty card, and note which room each belongs to.
After the work
- Photograph the finished rooms from the same positions as before.
- Collect everything into one file: the photos in order, the invoices, the handover protocol — for example one PDF per renovation.
Keep the original photo files: messaging apps often recompress them and remove their metadata.
A timestamp for the file
With DAS Estate Proof you can record that this exact file existed on a given day — $1 per file, by card or with XRP (Xaman). The file is not uploaded, and no personal data goes on the ledger.
DAS Proof writes a file's fingerprint (SHA-256) into a public XRP Ledger transaction; the file itself never leaves your device. The timestamp shows the file existed in exactly this form no later than a given moment — it does not establish authorship or ownership. Anyone can verify it, free: dataanalyticsystem.com/proof/verify
Related: Handing over a flat: how to document its condition
We are not a construction company or a real-estate broker, and this is not legal advice.
Informational content.
Continue on DAI
Explore Topics
Written by
Data Analytic Investments
Content creator and writer sharing insights and stories.